

Hey there! I'm a supplier of lotion tanks with lids, and I know how important it is to keep these containers clean. Whether you're a beauty brand looking to reuse the tanks or a consumer wanting to give your old lotion tank a new lease on life, cleaning them properly is key. In this blog, I'll share some tips on how to clean a lotion tank with a lid effectively.
Why Cleaning Your Lotion Tank Matters
First off, let's talk about why cleaning your lotion tank is so crucial. When you reuse a lotion tank, you want to make sure it's free from any leftover lotion, bacteria, or other contaminants. This not only ensures the quality and safety of the new product you'll be storing in it but also helps to extend the lifespan of the tank itself. Plus, a clean tank looks better and gives a more professional impression, which is especially important if you're using it for commercial purposes.
What You'll Need
Before you start cleaning your lotion tank, gather the following supplies:
- Warm water: This is the basic ingredient for any cleaning process.
- Mild dish soap: Look for a gentle, non - abrasive dish soap that won't damage the tank or the lid.
- Soft sponge or cloth: Avoid using anything too rough that could scratch the glass or plastic.
- Toothbrush (optional): A small toothbrush can be handy for getting into hard - to - reach areas.
- Vinegar (optional): Vinegar is a natural disinfectant and can help remove stubborn stains.
Step - by - Step Cleaning Process
Step 1: Empty the Tank
The first thing you need to do is empty the remaining lotion from the tank. You can use a spatula to scrape out as much of the lotion as possible. If there's a lot of lotion left, you might want to consider donating it to a local shelter or charity if it's still in good condition.
Step 2: Remove the Lid
Take off the lid from the lotion tank. Some lids may have a tight fit, so be careful not to break it. If the lid has any gaskets or seals, remove them as well for separate cleaning.
Step 3: Rinse with Warm Water
Hold the tank and the lid under warm running water. This will help to loosen up any remaining lotion and start the cleaning process. Make sure to rinse both the inside and outside of the tank and the lid thoroughly.
Step 4: Add Dish Soap
Put a few drops of mild dish soap into the tank. Fill the tank about halfway with warm water and swirl it around to create a soapy solution. For the lid, you can add a drop of soap to a small bowl of warm water and soak it in there.
Step 5: Scrub the Tank
Use a soft sponge or cloth to scrub the inside of the tank. Pay special attention to the corners and edges where lotion may have accumulated. If there are any stubborn stains, you can use a toothbrush to gently scrub them away. For the outside of the tank, simply wipe it down with the soapy sponge or cloth.
Step 6: Clean the Lid
Take the lid out of the soapy water and use the sponge or cloth to clean it. Make sure to clean the inside of the lid, the edges, and any parts that come into contact with the lotion. If there are any small crevices, use the toothbrush to clean them.
Step 7: Rinse Again
Rinse the tank and the lid thoroughly under warm running water to remove all the soap. Make sure there are no soap residues left, as this could affect the quality of the new lotion you'll be storing.
Step 8: Disinfect (Optional)
If you want to be extra cautious, you can disinfect the tank and the lid. One way to do this is by filling the tank with a mixture of equal parts water and vinegar. Let it sit for about 15 - 20 minutes, then rinse it out again. For the lid, you can soak it in the vinegar - water solution for the same amount of time.

Step 9: Dry
Pat the tank and the lid dry with a clean, soft cloth. Make sure they are completely dry before you store them or reuse them. You can also let them air - dry for a few hours to ensure there's no moisture left.
Cleaning Different Types of Lotion Tanks
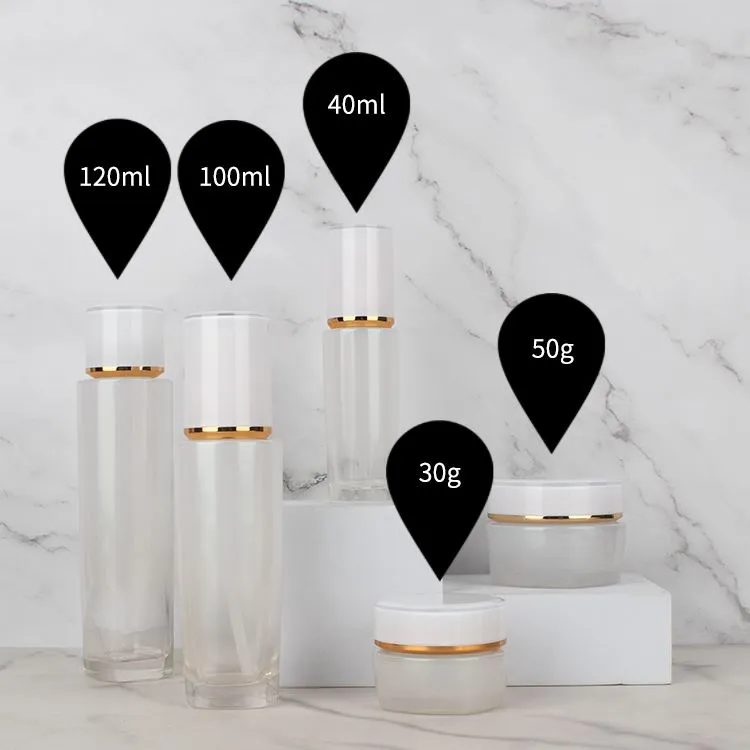
- Glass Tanks: Glass tanks are relatively easy to clean. Just follow the steps above, and be careful not to drop or break the glass. Glass is also more resistant to stains and odors compared to plastic. Check out our Cosmetics Packaging Glass Jar for high - quality glass lotion tanks.
- Plastic Tanks: Plastic tanks may be more prone to scratches, so use a very soft sponge or cloth. Avoid using harsh chemicals that could damage the plastic. Our 50g Transparent Glass Jar With Lid offers a great plastic option with a transparent design.
- Tanks with Special Features: Some lotion tanks may have pumps or other special features. If your tank has a pump, disassemble it carefully according to the manufacturer's instructions and clean each part separately. Our Face Cream Jar with Cover comes with a convenient cover and may require a bit more attention when cleaning.
Tips for Maintaining a Clean Lotion Tank
- Clean regularly: If you're using the same tank for different lotions, clean it between each use.
- Store properly: Keep the tank in a clean, dry place when not in use.
- Avoid cross - contamination: Don't use the same spatula for different lotions without cleaning it first.
Conclusion
Cleaning a lotion tank with a lid is not a difficult task, but it does require some attention to detail. By following these steps and using the right supplies, you can keep your lotion tanks in top - notch condition. Whether you're a consumer or a business owner, a clean lotion tank is essential for the quality and safety of your products.
If you're interested in purchasing high - quality lotion tanks with lids, we're here to help. We offer a wide range of options to meet your needs. Contact us to start a procurement discussion and find the perfect lotion tank for your brand.
References
- Home Cleaning 101: Basic Principles of Cleaning Containers.
- Cosmetics Packaging Best Practices Guide.